
Survive Transport Fever 3 hard mode: strict openers, loan discipline, and cashflow rules that keep a brutal start from ending early.
Transport Fever 3 Hard Mode: How Do You Survive the Opening Years?
Quick answer: hard mode punishes guesses, so run the strictest version of the basics — one short truck line on proven demand, minimal starting debt, vehicles added singly, and zero expansion until cash reserves cover mistakes. Pick one of the three opener templates below, follow its cash rules exactly, and the brutal start becomes merely difficult.
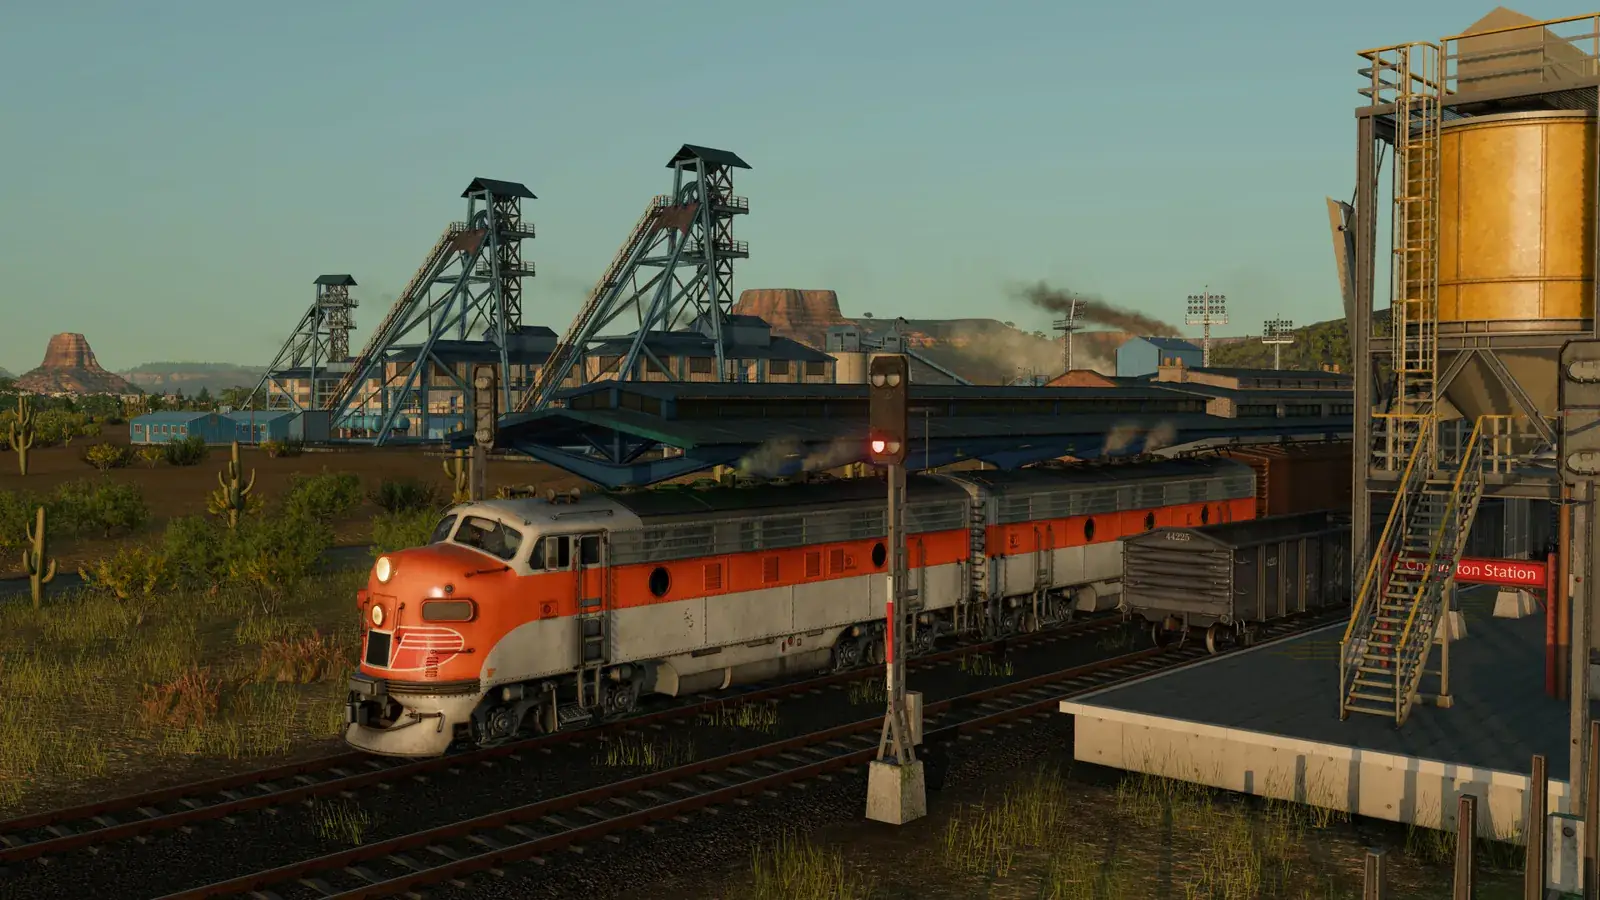
What Hard Mode Actually Changes
Transport Fever 3 offers adjustable difficulty across the world, the economy, and citizen behavior, scaling from relaxed building with the economy disabled all the way to tycoon adversity with timed contract objectives. The tycoon layer itself is confirmed in depth: the world divides into municipal areas, headquarters upgrade over time, landmark buildings grant district bonuses, and town development feeds company progression that unlocks further upgrades. Hard mode tightens the same profit equation every difficulty uses: less forgiveness on loans, thinner margins for empty running, and faster punishment when lines underperform. Nothing about the change is mysterious, which is exactly why it kills unprepared players — every sloppy habit from easy mode now bills you at full price.
Official source: Dev Blog Episode 4: Tycoon — municipal areas, upgradeable headquarters, landmark bonuses, and company progression driven by town development.
Official source: Transport Fever 3 on Steam — difficulty options adjust how the world, economy, and citizens react, up to tycoon adversity with contract objectives against the clock.
Two honest caveats before the templates. Exact slider values, interest rates, and contract terms are unverified until launch, so treat every number below as method, not gospel. And series veterans carry useful instincts — full loads, cheap openers, replace aging stock — but Transport Fever 3 reworks cargo, town growth, and signaling enough that old muscle memory needs checking. If you have never built a profitable line on easy, do that first with the beginner opening guide, because hard mode teaches nothing except how fast debt compounds.
On hard settings, an unprofitable first year is not a slow start — it is the beginning of the end. Interest piles onto operating losses while you scramble, and rescue borrowing just schedules a bigger collapse. If your opening line is not clearly profitable within its first stretch of operation, cut vehicles, simplify the route, or restart rather than borrowing through the red.
Opener Template One: The Truck Shuttle
The safest hard-mode start is also the simplest: one short truck line between confirmed supply and confirmed demand. A forest beside a sawmill, a farm near a food processor, coal next to a power-hungry factory — distance measured in minutes, not map regions.
Rules for this template are strict. Spend the minimum loan or none at all, build the cheapest working road connection, and start with two trucks. Add a third only when waiting cargo piles up despite full loads. Bank every surplus until reserves could survive a bad year, and only then consider a second line that copies the first. Players who want the general money logic behind this should read how to make money alongside.
This opener wins by shrinking every risk at once: near-zero infrastructure, fast payback per vehicle, and a route simple enough to diagnose in seconds. Its only real enemy is impatience — the urge to start rails in year two. Resist it. Trucks that run full for years are not a delay; they are the proof your future railway needs.
Opener Template Two: The Town Bus Loop
Found a compact town with clear home-to-work travel but no great industry pair nearby? Run a bus loop inside that single town. Reviewers of the pre-release build independently converged on this advice: base yourself in one town and make basic public transport work before connecting anything.
The loop must cover residences, workplaces, and shops in one circuit, with frequency high enough that waiting times stay short. Start with two buses and tune upward; passengers reward frequency in ways freight never does. A healthy loop does double duty — it earns fares directly and grows the town that becomes your future goods customer. Town growth mechanics decide how fast that flywheel spins, covered in the city growth guide — and keep noisy depots and polluting roads away from housing while you build, since environmental pressure stalls the growth you are investing in. Systems coverage of the reworked towns confirms the stakes: growth climbs tier by tier toward metropolis, and neglected needs stall it cold (GamingTrend systems breakdown).
Freight logic says run every vehicle full or else. Passenger logic says frequency itself creates riders, so a bus loop can justify capacity that looks wasteful on a cargo spreadsheet. Do not starve a promising loop to protect a utilization number — but do not gold-plate it either. Add buses until waiting crowds shrink, then stop and let growth catch up.
Opener Template Three: The Two-Way Loaded Train
For players who want rails from the start, the only defensible hard-mode railway is a short line loaded in both directions — bulk one way, different bulk back, or passengers balancing freight. Single-direction trains earn half their mileage and pay full maintenance the whole way, a luxury hard mode does not grant.
This template demands homework the truck openers skip. Both endpoints need confirmed, durable demand. The track must be short, cheap, and simple — ideally double track or a well-signaled single line with a passing loop, because a deadlock on your only income source is a restart event. Signals follow the new extended-reservation logic, so study the trains and signals guide before placing anything. And keep a cash buffer large enough to survive the construction years, since rails earn nothing until the first loaded train rolls.
| Opener | Starting cost | Skill it teaches | Fails when |
|---|---|---|---|
| Truck shuttle | Minimal | Demand reading, utilization | Player gets bored and overbuilds |
| Town bus loop | Low | Frequency, coverage, town growth | Stops miss homes or workplaces |
| Two-way train | High | Signals, scheduling, capacity | Either direction runs empty |
Cashflow Rules for the Whole Run
Templates get you started; cash discipline keeps you alive. Five rules govern hard-mode money from year one to year fifty.
First, never spend projected income. Only profitable lines fund new lines — forecasts fund bankruptcies. Second, keep reserves before repaying aggressively; a paid-off loan with zero cash dies to the first surprise, while a modest loan with deep reserves survives anything. Third, replace vehicles on schedule, because aging fleets raise maintenance exactly when you can least afford surprises. Fourth, revisit every line regularly, since demand drift retires yesterday's winners without notice — pre-release coverage stresses that aging profitable lines face shifting demand and must be re-optimized. Fifth, learn the loan and contract system cold — dynamic loans and risk-versus-reward contracts are confirmed mechanics, and the loans and contracts guide maps what is known, with rates and terms marked unverified until launch.
Official source: Transport Fever 3 preview at DualShockers — reworked industries and cargo with offshore sectors, plus economy tuning where profitable lines face drifting demand, alongside cashflow and loan management.
Frequently Asked Questions
Is hard mode fair for first-time players?
Honestly, no. Hard mode assumes you already read demand, tune vehicle counts, and manage cashflow without thinking. First-timers learn those skills cheaper on standard settings or in the tutorial-style campaign opener, then import the habits. Starting hard to prove something usually proves only how interest works.
Should I repay the starting loan immediately?
Not automatically. Old-series wisdom split between instant repayment and strategic borrowing, and Transport Fever 3 adds dynamic loans and contracts that change the calculus. The release-build terms are unverified until launch, so the safe rule is: keep enough cash to survive surprises first, repay expensive debt second, and borrow only against lines that already run full.
Which opener is safest overall?
The truck shuttle, by a wide margin. It risks the least capital, pays back fastest, and fails in ways you can see and fix within minutes. The bus loop is nearly as safe wherever a compact town exists. The two-way train is a veteran flex, not a survival strategy — impressive when it works, fatal when either direction disappoints.
How do contracts fit a hard-mode start?
Timed contract objectives offer rewards for players confident in fast execution, which describes almost nobody in their first hard-mode years. Treat contracts as mid-game accelerants: attempt them once your core lines run themselves and you hold reserves. Chasing contract payouts with a fragile startup converts difficulty into disaster.
When does hard mode stop feeling brutal?
When two or three independent lines run profitably with reserves in the bank. Redundancy is the real difficulty setting — one line means one failure ends you, three lines mean one failure teaches you. Reach that point with discipline, and hard mode becomes the satisfying optimization puzzle it is meant to be.
More Transport Fever 3 Guides
Helicopters are new in Transport Fever 3, with the Sikorsky S-76 confirmed. What they are good for, what they cannot do, and costs still unconfirmed.
How money works in Transport Fever 3: delivery income, running costs, full loads, and the route habits that turn thin lines profitable.
Transport Fever 3 landmarks grant area bonuses tied to headquarters and company rank. Confirmed landmarks, how bonuses work, and subsidy details still pending.
Transport Fever 3 loans and contracts explained: dynamic borrowing, risk-versus-reward deals, and rules for debt that builds instead of kills.
Transport Fever 3 mods run through an in-game browser with cross-platform support. Learn Curated Mods, mod.io, and Workshop status.
Cut noise and pollution in Transport Fever 3: barriers, trees, underground rail and fleet maintenance. Pre-launch guide.
Transport Fever 3 offshore oil and fishing guide: rigs, fishing grounds, ships and climate limits for sea supply chains. Pre-launch.
Fix Transport Fever 3 lag and stutter: graphics settings that help, CPU bottleneck advice, and late-game slowdown cures that work.